After enabling shared folders for BranchCache, you
need to enable the branch office hosted cache server for BranchCache.
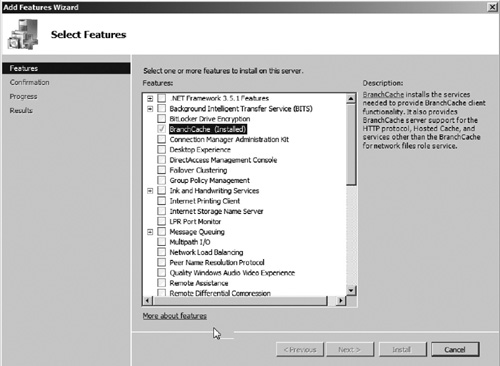
The first step to perform this is to install the BranchCache feature. This is done by performing the following:
1. | Open Server Manager.
|
2. | Select the Features node. Then click the Add Features link in the middle pane.
|
3. | Select the BranchCache feature as seen in Figure 6. Then click Next.
|
4. | Verify settings on the confirmation page. Then click Install.
|
5. | When the installation is complete, click Close.
|
After
adding the BranchCache feature, you will need to enable the hosted
cache mode and open correct firewall ports to allow this server to host
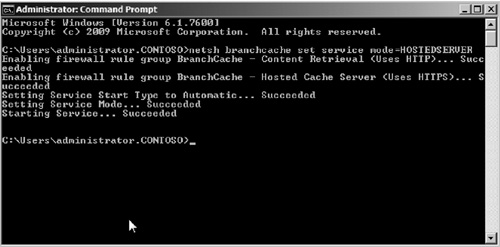
cached files. This process is done via a command prompt, using the netsh
command. Perform the following to enable hosted cache mode:
1. | Open a command prompt from Start | All Programs | Accessories | Command Prompt.
|
2. | Type the command: netsh branchcache set service mode=HOSTEDSERVER. Then hit Enter.
|
You should see several success confirmations as seen in Figure 7. After verifying whether the hosted cache has been enabled, close the command prompt.
One of the final steps to
setting up BranchCache in hosted mode is to configure certificates on
the branch office server hosting the cache. In our exercise,
we will assume that a certificate authority has already been deployed
on the network. The first procedure we need to complete is to configure
the Web server certificate template and enable autoenrollment on the
hosted cache server, using the following steps:
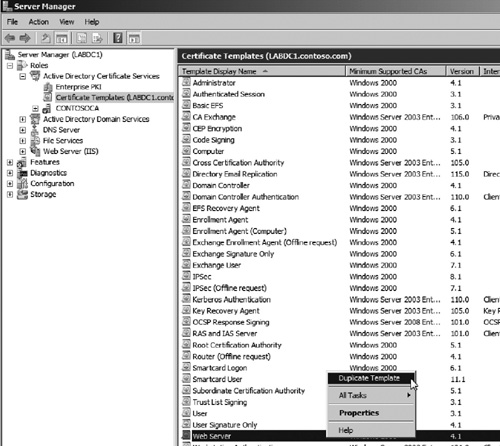
1. | Log on to the server with Active Directory Certificate Services installed and open Server Manager.
|
2. | Select the node Roles | Active Directory Certificate Services | Templates.
|
3. | Locate and right click the Web Server template in the middle pane. Then choose Duplicate (see Figure 8).
|
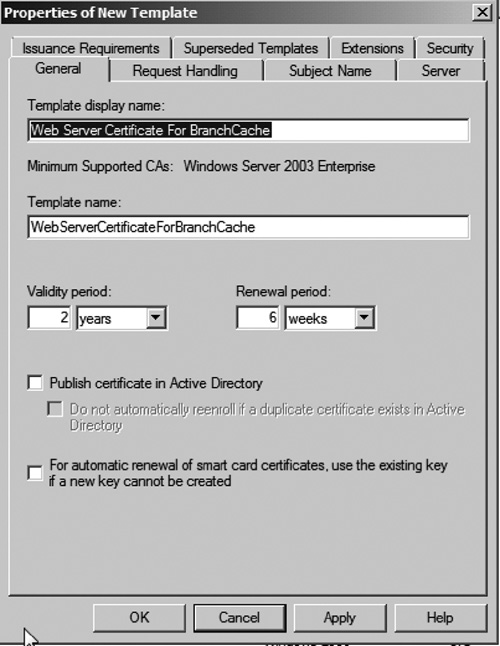
4. | Choose the option Windows Server 2003 Enterprise as the version. Then click OK. The Properties of New Template window will open.
|
5. | On the General tab, give the new template enter a meaningful name as seen in Figure 9.
|
6. | Select the Subject Name tab and then select the option Build from this Active Directory Information.
|
7. | Select the option Fully Distinguished Name from the drop-down menu (see Figure 10).
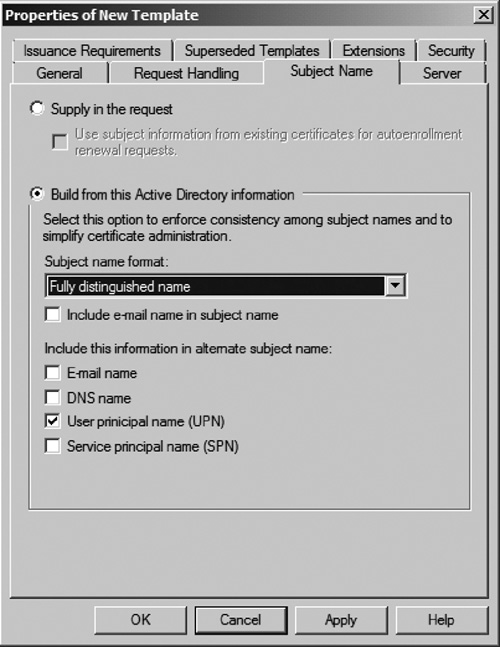
|
8. | Select the Security tab. Add the hosted cache server name as seen in Figure 11.
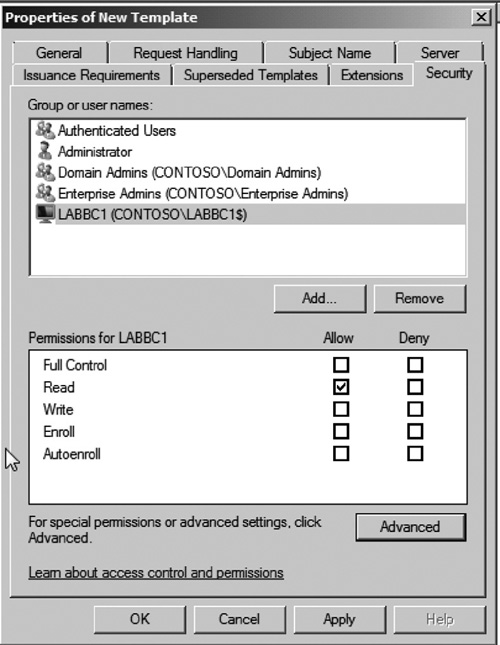
|
9. | Select the option to allow Enroll and AutoEnroll for the hosted cache server (see Figure 12). Then click OK.
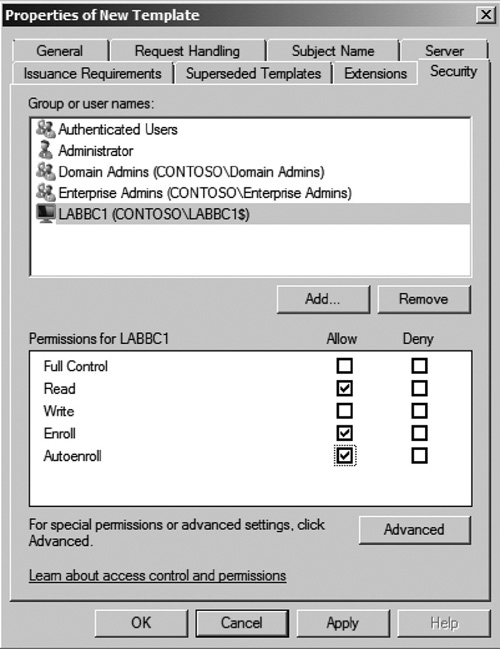
|
10. | In the left pane of the Server Manager window, expand the node of the certificate authority and select the Certificate Templates node (see Figure 13).
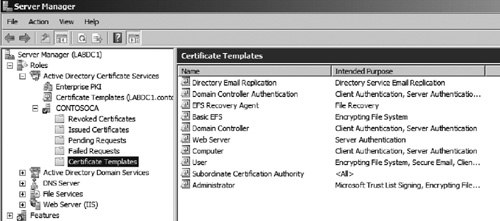
|
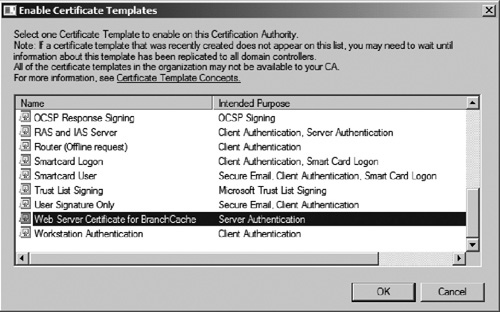
11. | Right click the Certificate Templates node and choose the option New | Certificate Template to Issue.
|
12. | Select the newly created template as seen in Figure 14. Then click OK.
 |